Maintenance & Care
Storm Door Installation Checklist Before Winter Hits
By Jeremy Holzmeister · · 7 min read
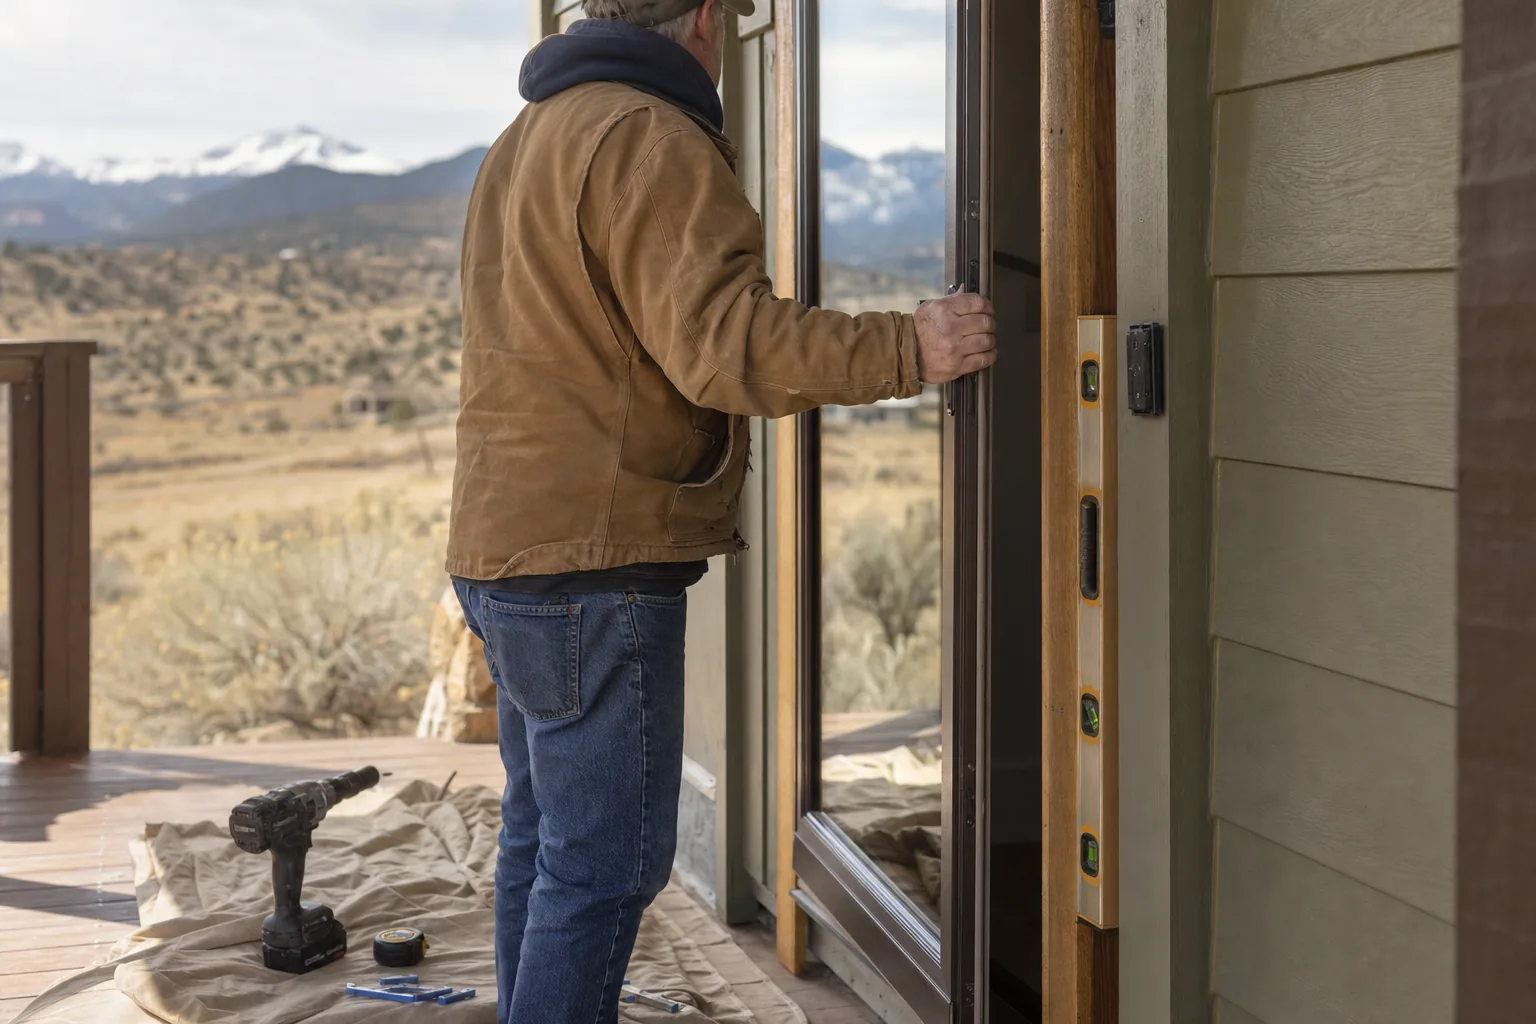
Winter has a way of exposing every gap in your entry door setup. A loose or poorly installed storm door is one of the first things to fail once temperatures drop. A solid storm door installation checklist keeps you from rushing the job on a cold weekend and redoing hardware with numb fingers halfway through. Whether you are hanging a new storm door yourself or getting a professional install scheduled, work through the steps in order. Measure first. Prep the frame. Mount the door. Seal it. That order is what separates a door that holds up all winter from one that rattles, drafts, or sticks by January. Here is the storm door installation checklist we walk through on every project, broken into the stages that matter most before the first hard freeze.
Confirm the Storm Door Fits Your Entry Before You Buy
Every storm door installation checklist starts before the door arrives at the house. Measure the width and height of your entry door opening at three points each: top, middle, and bottom. Older frames are rarely perfectly square, so use the smallest measurement in each direction when you order. Also note which way your entry door swings. Most storm doors need to swing the opposite direction, since an in-swing entry door usually pairs with an out-swing storm door, so the two doors do not collide when both are open.
You will also need to pick a style. A full-view glass storm door shows off the entry door behind it and works well if you like natural light in the entryway. A ventilating storm door has an interchangeable screen and glass panel, so it gives you airflow in mild months and a sealed barrier once winter sets in. If you are weighing security features too, our comparison of storm doors versus security storm doors covers the hardware and glass differences worth knowing before you order. And if you are deciding between a screen door and a full storm door for our climate, screen doors versus storm doors in Western Colorado's climate breaks down which one holds up best through our temperature swings.
| Storm Door Style | Best For | Winter Trade-off |
|---|---|---|
| Full-view glass | Natural light, showing off the entry door | Some models need the screen swapped out each season. |
| Ventilating (screen and glass panel) | Airflow control across seasons | More moving parts to seal and maintain. |
| High-view with lower panel | Curb appeal with added durability at the base | Slightly less visible glass area. |
Gather Tools and Hardware Before Installation Day
Nothing stalls a storm door installation faster than a mid-project trip to the hardware store. Lay out these items before you start.
- A tape measure and a torpedo level.
- A cordless drill with driver bits and a bit for pilot holes.
- Exterior-rated wood screws. The short screws in some storm door kits are not always long enough for solid wood or older frames.
- Composite or cedar shims for leveling the hinge side.
- A caulk gun and a paintable, exterior-grade weatherproof caulk.
- Safety glasses and work gloves for handling the glass panel.
- A helper. Storm doors are awkward to hold plumb and screw in place alone.
- A pencil and a utility knife, for marking screw locations and trimming any foam or vinyl at the threshold.
Check your storm door installation checklist against the instructions that ship with your specific door too. Hinge spacing, closer placement, and screw types vary a bit between manufacturers, and the paperwork in the box will call out anything unique to your model.
Prep the Door Frame and Opening
Skipping frame prep is the top reason a storm door installation looks fine on day one, then starts drafting or sticking within a season. Remove any old storm door hardware, screws, and anchor holes. Fill larger holes so the new unit has clean wood or masonry to bite into. Inspect the brick mold and threshold area for soft or rotted wood. A storm door mounted into a weak frame will loosen, no matter how well you install it. Clean the surface where the flange will sit so caulk and screws make full contact. Then confirm the opening is square by measuring both diagonals. If the diagonals differ by more than a small margin, your frame has racked out of square over time. You will need extra shims to compensate when you hang the door.
Step-by-Step Storm Door Installation Checklist
With the door and frame ready, work through the mounting steps in this order.
- Dry-fit the door in the opening before driving any screws. Confirm the reveal, or gap, is even on both sides.
- Set the hinge-side Z-bar or flange first. Check plumb with your level before driving the top screw.
- Add shims behind the hinge side wherever the frame is not flat. Then finish driving the hinge-side screws from top to bottom.
- Close the door and check the gap along the latch side and top rail. It should be even all the way down.
- Secure the latch-side flange. Install the sweep at the bottom and adjust it so it brushes the threshold without dragging.
- Mount the pneumatic closer at the manufacturer's spacing. Test the swing before you fully tighten the closer's mounting screws.
- Cycle the door open and closed a few times. Check that it latches securely and does not bind against the frame or the entry door behind it.
Most storm door installations take a couple of hours from dry-fit to a finished, latched door. Older frames that need repair work, or openings that are badly out of square, take longer. Build in extra time if you spot rot or racking during the prep step above, since that repair has to happen before the door goes in, not after.
Seal and Weatherproof for Winter Performance
An installed storm door still needs a proper seal to earn its keep once the cold arrives. Run a bead of exterior caulk along the top and sides of the outer flange, where it meets the siding or brick mold. Leave the bottom weep holes clear so any moisture behind the door can drain out instead of pooling. Check that the sweep and any weatherstripping sit flush against the frame with no visible daylight when the door is closed. If your entry door itself is older, a well-sealed storm door only solves half the problem. Our guide to weatherproofing your front door for winter covers the entry-door side of the equation, from checking the weatherstripping to spotting a frame that has settled out of square.
Common Mistakes That Let Winter Air In
A handful of installation mistakes show up again and again on storm doors we get called out to fix.
- Ordering the wrong swing direction. This forces the storm door to fight the entry door every time both are opened.
- Skipping shims on an out-of-square frame. This leaves gaps that no amount of caulk will fully close.
- Caulking the bottom flange and blocking the weep holes. This traps moisture behind the door instead of draining it.
- Leaving the pneumatic closer unadjusted. The door slams and gradually loosens every screw in the frame over a season.
- Mounting into a soft or rotted section of the brick mold without repairing it first. The whole installation loosens again within a year, no matter how carefully it was hung.
Working through this storm door installation checklist in order catches most of these before they become a problem. But a frame that is out of square, rotted, or badly out of plumb is often a sign the entry door and frame need attention beyond what a new storm door can fix on its own.
Get Your Storm Door Ready Before the First Freeze
A properly installed storm door adds real protection against Western Colorado's wind and cold. That only happens if the measuring, frame prep, mounting, and sealing steps are done in order. Maybe you would rather not spend a weekend chasing a square frame or adjusting a closer in freezing temperatures. Our team installs storm and screen doors built for our climate, and we can walk your entry door with you to confirm the right fit. Browse our storm and screen door options or reach out for a free estimate before winter sets in. Visit our contact page to schedule a time that works for you.
About the author
Jeremy Holzmeister is the founder of Innovate Window and Door, a locally owned window and door company in Montrose, Colorado, with more than fifteen years of experience in the trade. Learn more about our team.