Maintenance & Care
How to Weatherproof Your Front Door for Winter
By Jeremy Holzmeister · · 8 min read
Stand at your front door on a cold morning and hold the back of your hand near the spot where the door meets the jamb. If you feel air moving, that gap is working against your furnace all winter long. Weatherproofing a front door means finding and sealing the specific points where air leaks around the slab, threshold, and frame: worn weatherstripping, a sunken or gapped door sweep, cracked exterior caulk, and in some cases a warped door itself. A door can look perfectly fine from a few feet away even after the seal behind it has failed, and fixing it doesn't require a full replacement. You can fix most of what causes a front door to leak heat in an afternoon with a utility knife, a tape measure, exterior caulk, and replacement weatherstripping, and it's worth handling before the first hard freeze hits Western Colorado. This guide covers how to weatherproof a front door step by step, from weatherstripping and thresholds to deciding whether a storm door makes sense for your home.
Why Your Front Door Lets in Cold Air
A front door rarely fails all at once. It fails one small part at a time: the weatherstripping compresses against the slab year after year and eventually stops springing back, the threshold and door sweep settle out of level at floor height where cold air pools first, and the caulk where the frame meets the siding or stucco dries out and cracks through repeated freeze and thaw cycles. None of those failures are visible from across the room. You generally have to run a hand along the frame or watch for daylight at the threshold to catch them before the draft shows up in your heating bill.
The door slab itself is the fourth failure point, and it depends on material. Wood doors move the most with humidity and temperature swings, swelling in wet months and shrinking when the air turns dry. Steel and fiberglass doors hold their shape far better, but even those can develop gaps if the foam core inside has broken down or the hinges have sagged enough to pull the slab slightly out of square. Knowing which of these four points is failing on your door tells you which step below to spend the most time on.
How to Weatherproof a Front Door, Step by Step
None of the fixes below take special skill. You'll need a utility knife, a tape measure, exterior-grade caulk, and replacement weatherstripping sized to your door. Work through the four steps in order, since each one checks a different failure point, and skipping ahead means you might reseal a gap that was never the actual source of the draft.
Step 1: Replace the Weatherstripping
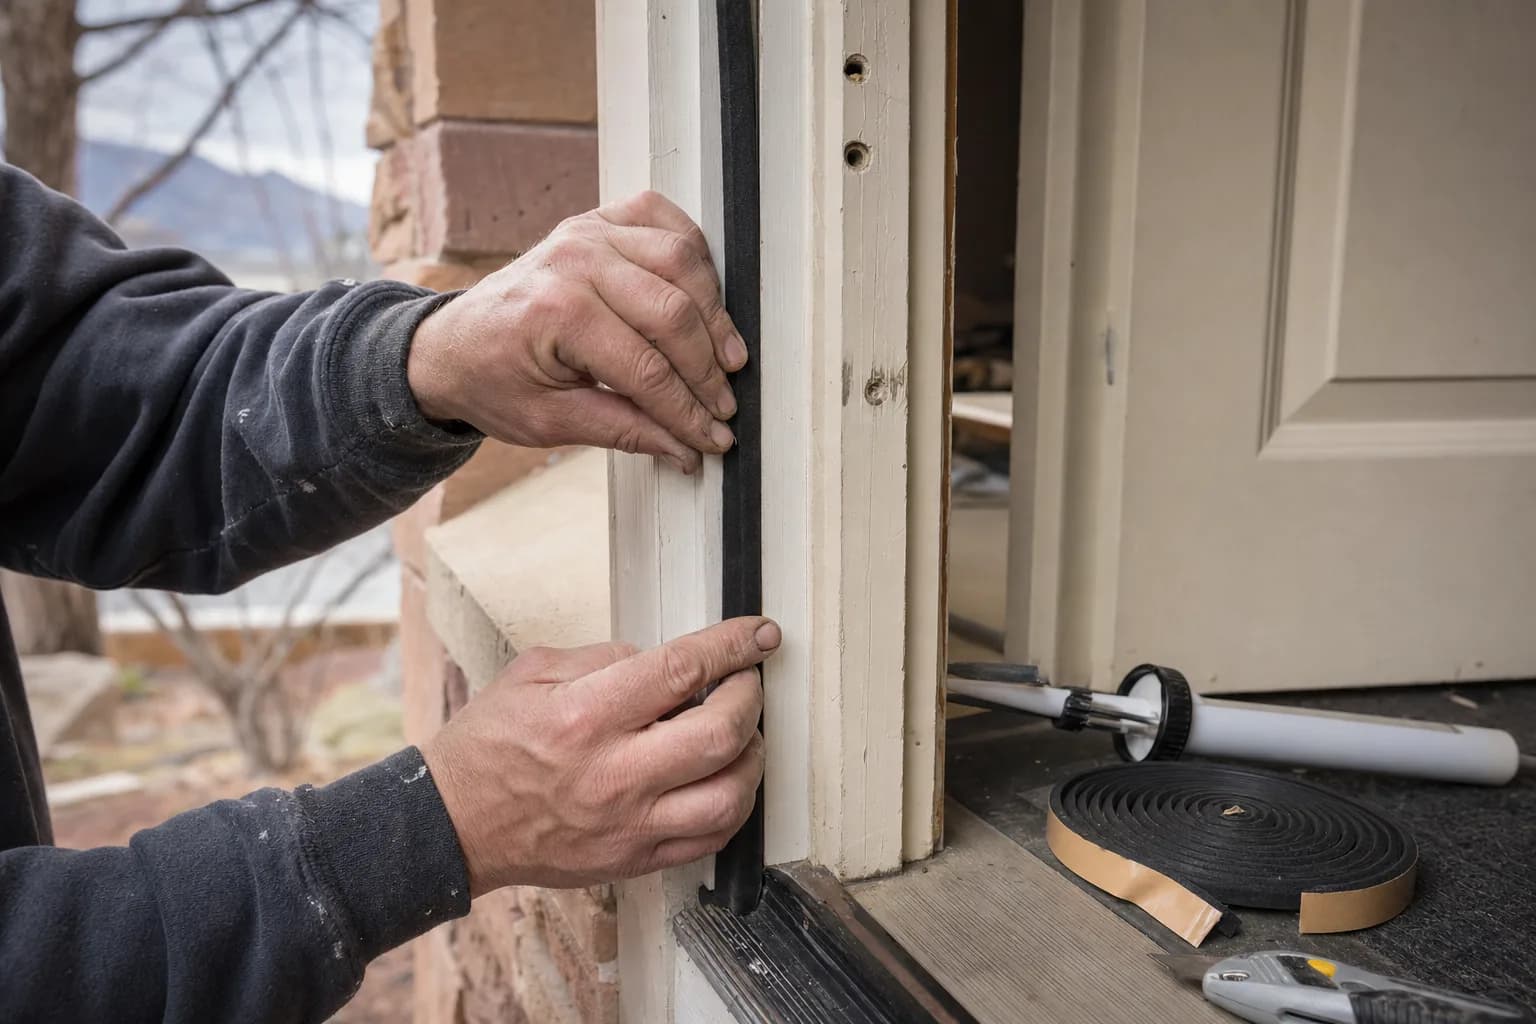
Open the door and run your fingers along the existing weatherstripping around the jamb. If it's cracked, flattened, or pulls away without resistance, it has lost the spring-back that lets it seal against the slab, and it needs to go. Peel or pry out the old strip, clean the channel or adhesive surface so the new piece bonds properly, and press in new weatherstripping cut to length. Foam tape handles minor gaps fine. A compression-style vinyl or rubber strip holds up longer on a front door, since it takes more daily use than almost any other door in the house.
Step 2: Fix the Threshold and Door Sweep
Close the door and look for daylight along the bottom edge, or run your hand there to feel for a draft. That gap means the door sweep has worn down or the threshold has settled out of level, and it's the leak most homeowners miss because it sits below eye level. A couple of screws hold most door sweeps in place, and loosening them lets you slide the sweep down until it just touches the threshold without dragging. A threshold that has settled, cracked, or rotted underneath is a bigger repair, since the subfloor beneath it may need attention too, and that's worth handing to a contractor rather than patching over.
Step 3: Seal the Frame and Exterior Trim
Walk the outside perimeter of the door and inspect where the frame meets the siding, stucco, or brick. Caulk that's cracked, shrunken, or missing in spots needs to come out first, since new sealant applied over failed caulk rarely holds for more than a season. Scrape out the old bead, let the surface dry, and run a fresh line of exterior-grade caulk rated for the temperature swings your climate sees. Buy a mid-grade tube instead of the cheapest one on the shelf. It costs a little more up front and holds up long enough that resealing the same spot every year stops being necessary.
Step 4: Check the Door Slab for Warping or Gaps
Close the door, turn off the interior lights, and have someone shine a flashlight around the entire perimeter from outside while you watch from inside. Light showing through evenly on one side usually points to a warped slab or sagging hinges pulling the door slightly out of square, and a hinge adjustment can sometimes correct minor sag on its own. A slab that's visibly bowed, or a frame that's racked out of square no matter how you adjust the hinges, has reached the point where weatherproofing alone will not solve the draft.
Should You Add a Storm Door?
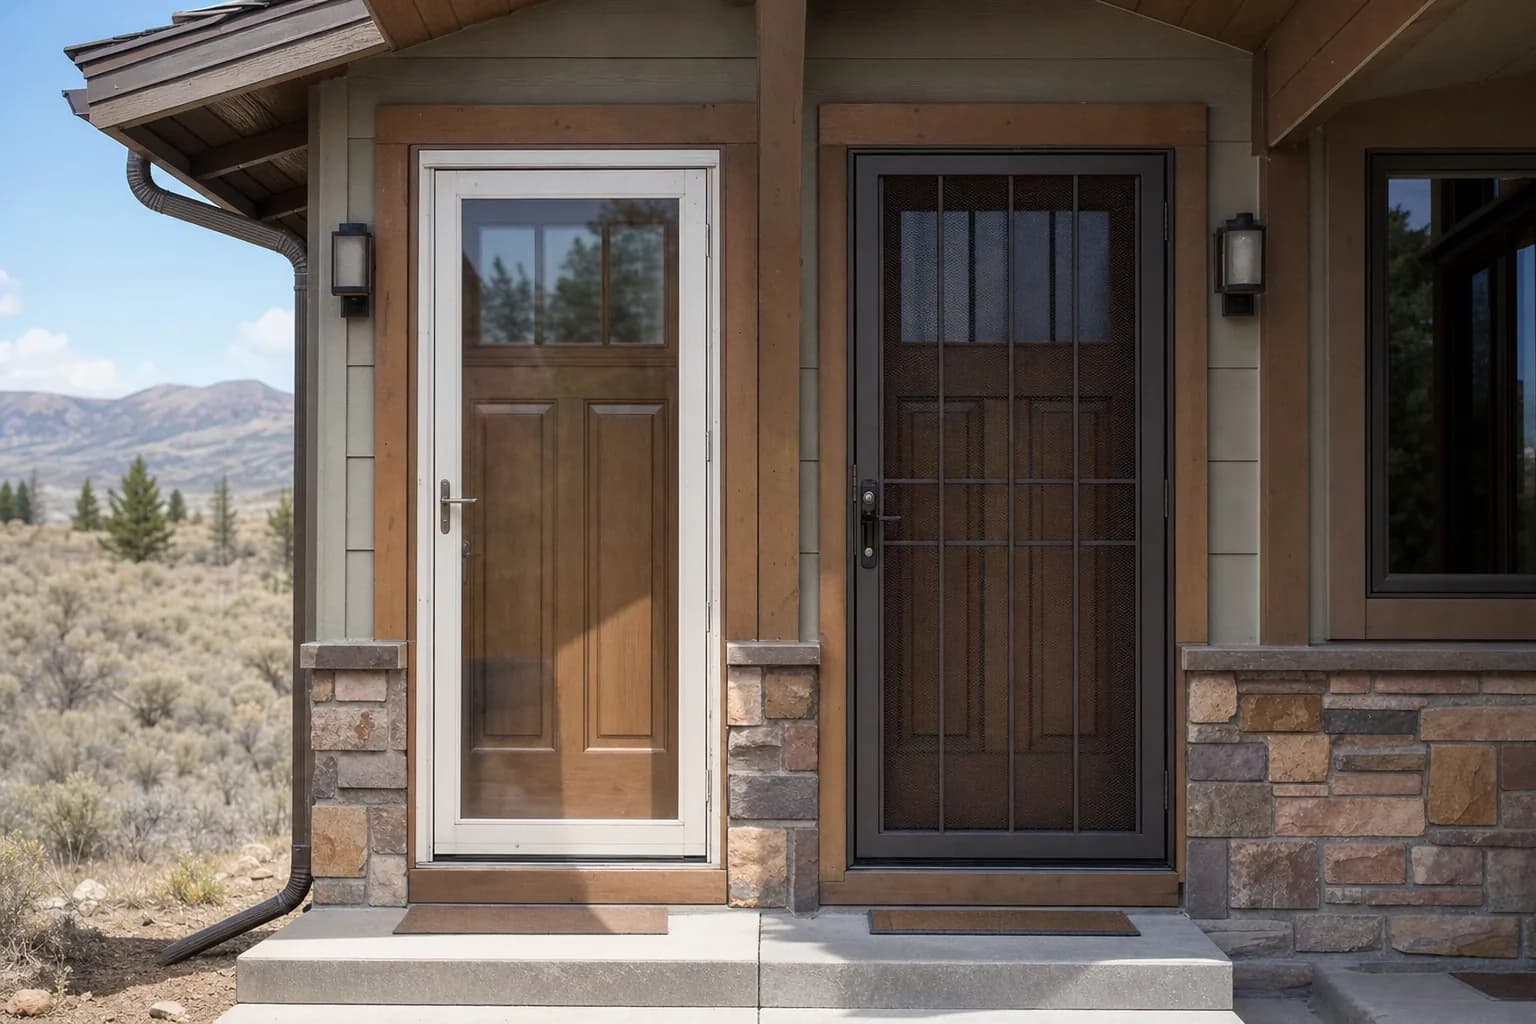
A storm door isn't required to properly weatherproof a front door, but it adds real protection in a cold, dry climate. It creates a buffer of still air between itself and the entry door, which cuts down on wind-driven drafts and takes some of the daily temperature swing off the entry door's finish, glass, and hardware. Whether it earns its keep on your home depends on orientation, material, and how stubborn the existing draft is.
| Factor | Favors adding a storm door | Favors skipping it |
|---|---|---|
| Door orientation | Faces prevailing wind or gets direct winter weather. | Sheltered by a porch or deep overhang. |
| Door material | Wood door that needs extra protection from moisture. | Fiberglass or steel door already holding up well. |
| Existing draft | Draft persists even after weatherstripping and sealing. | Door seals tight after the steps above. |
| Style goals | Full-view or ventilating storm door fits the home's look. | A storm door would clash with an updated entry door. |
If you're leaning toward it, our storm door installation checklist walks through what to expect during the project, and our comparison of screen doors versus storm doors for Colorado's climate covers which style fits depending on the season you use your entry the most.
Don't Stop at the Door, Check Your Windows Too
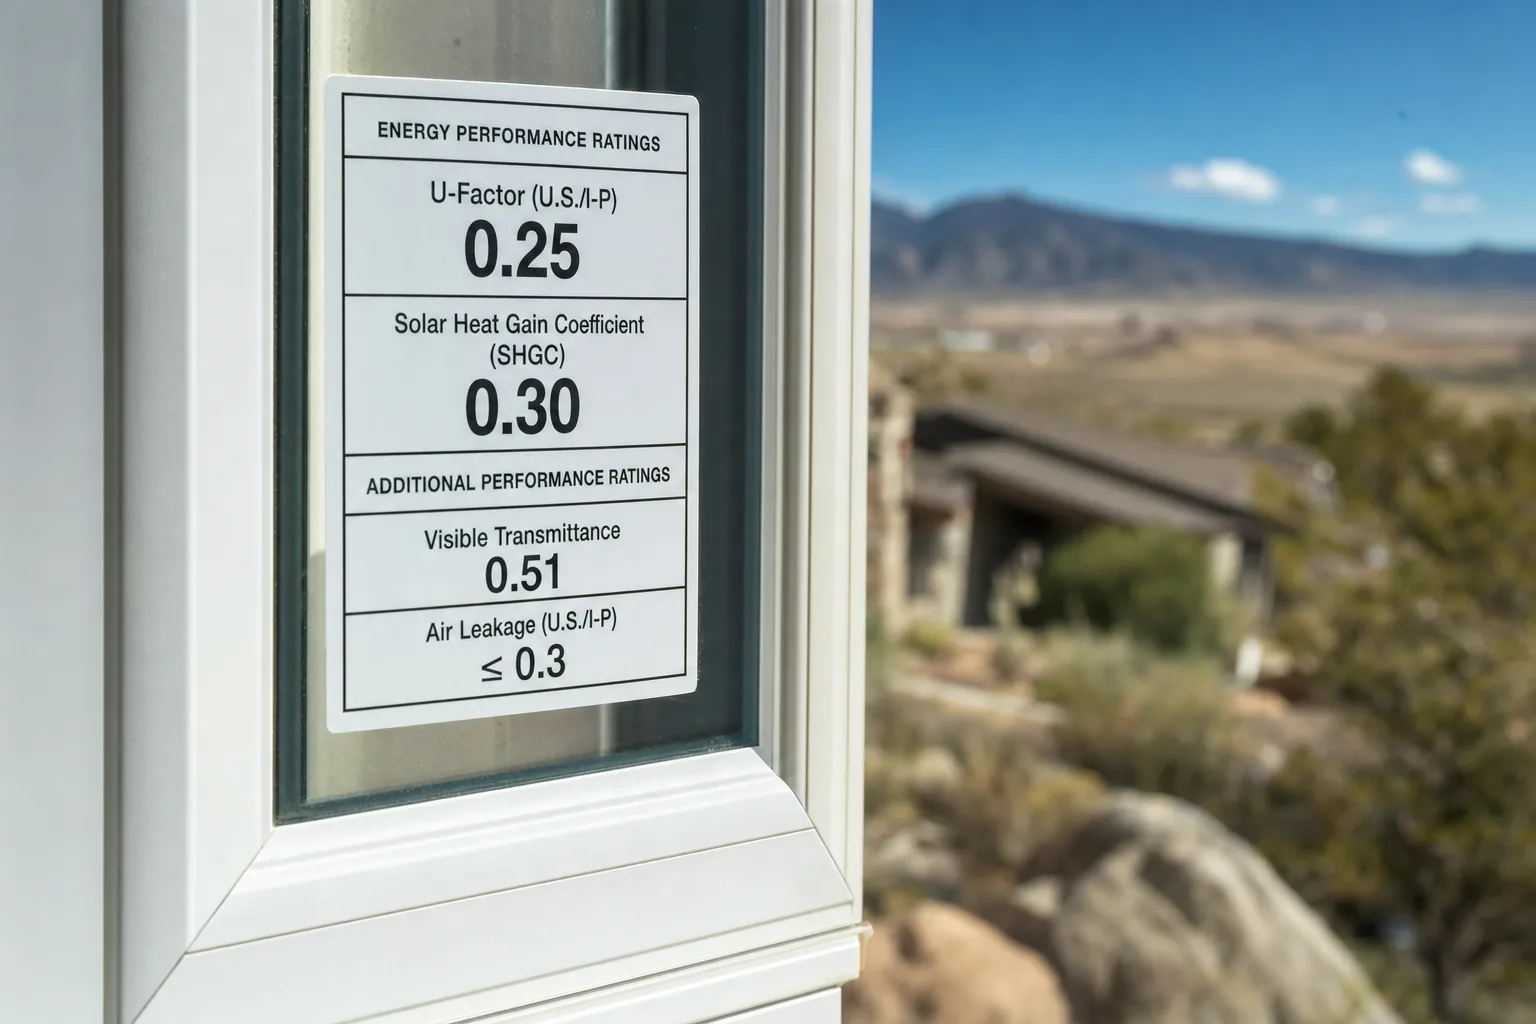
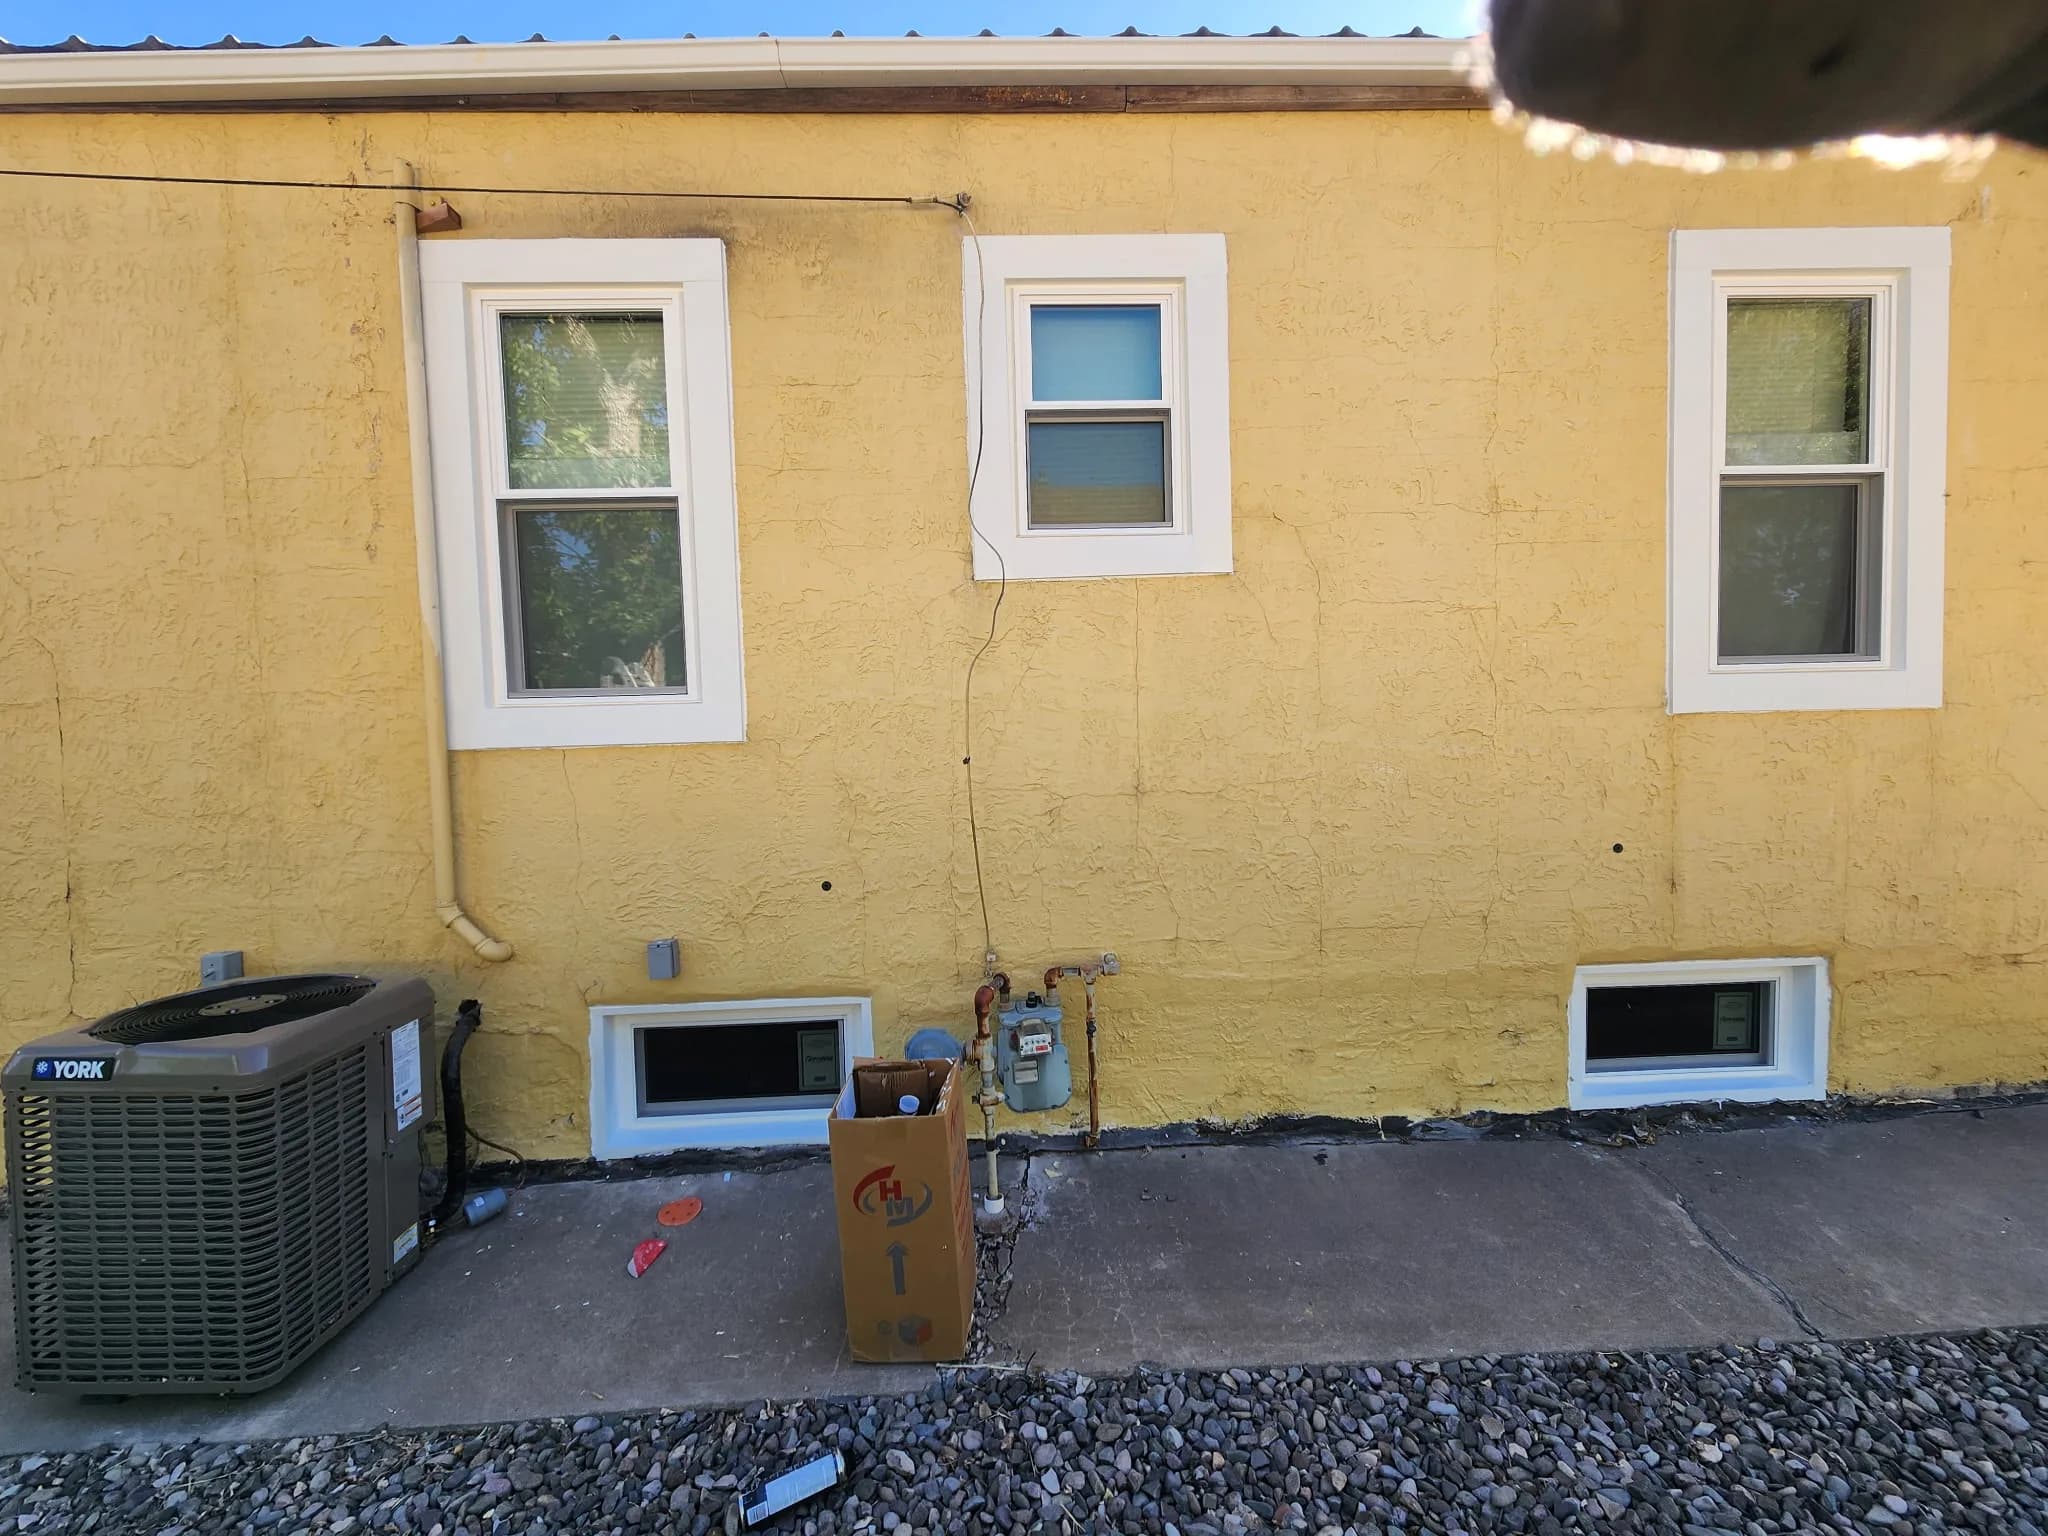
A weatherproofed front door does less good if the windows flanking it leak just as much air. Sidelights and any windows near the entry deserve the same inspection you just ran on the door itself: check the weatherstripping for compression, look for gaps where the frame meets the wall, and feel for movement on a windy day. Windows fail for the same underlying reasons doors do, worn seals, settled frames, and aging caulk, so a house with one leaky front door often has a few leaky windows nearby too. Our winter window checklist for Colorado homes covers the same process room by room, so you can work through the whole house in one weekend instead of stopping at the entry.
When Weatherproofing Isn't Enough
Weatherstripping, caulk, and a new door sweep fix a leaky seal. They don't fix a door that's structurally past its useful life. If you worked through every step above and you're still feeling a draft, or you found a warped slab, a cracked frame, or hinges that won't hold an adjustment, the door itself is likely the problem rather than the seal around it. A few signs point toward replacement instead of another round of weatherproofing:
- The door doesn't sit flush in the frame even after hinge adjustments.
- Daylight shows through gaps in more than one spot around the perimeter.
- The slab feels soft, spongy, or is visibly bowed.
- You've replaced the weatherstripping more than once in recent years without lasting results.
- The finish has failed badly enough that moisture is reaching the core material.
If that sounds like your door, it's worth looking at entry door replacement options instead of sinking more time into a door that's already worked past what it can give you. A newer door with a tighter factory seal and better core insulation is often less demanding to maintain year over year than an older one that needs yearly attention just to hold its seal.
Get Your Front Door Ready for Winter
Weatherproofing a front door is maintenance, not a design project, which is exactly why it's easy to put off. None of the fixes above take much skill, but they need to happen before the cold sets in, not after the heating bill has already crept up. Work through the weatherstripping, threshold, frame, and slab in that order, and most drafty front doors will seal up tight again by the time the first real cold snap hits.
If you go through the steps above and the draft doesn't go away, or you find damage a seal can't fix, Innovate Window and Door offers free estimates on entry door replacement throughout Montrose and the surrounding Western Colorado communities. Reach out through our contact page and we'll take a look at what's actually going on with your door, whether that turns out to be a quick repair or a full replacement.
About the author
Jeremy Holzmeister is the founder of Innovate Window and Door, a locally owned window and door company in Montrose, Colorado, with more than fifteen years of experience in the trade. Learn more about our team.