Maintenance & Care
Preparing Your Windows for a Colorado Winter: A Seasonal Checklist
By Jeremy Holzmeister · · 8 min read
Western Colorado winters do not ease in gently. One week you have warm afternoons and open windows, and the next you wake up to a hard freeze and frost creeping across the glass. If your windows aren't ready for that swing, you feel it fast: cold drafts near the sill, a furnace that runs constantly, and heating bills that climb before the snow even sticks. A winterize windows checklist done early, before the first real cold snap, is the difference between a comfortable season and months of chasing drafts. Here's how to work through it, from early fall prep through the deep-winter months, across Montrose, Delta, Grand Junction, and the rest of Western Colorado.
Early Fall: Inspect Before the First Freeze
The best time to start a window winterization checklist is while it's still warm enough to work outside comfortably. Aim for September or early October, before the first hard freeze hits the high country. Walk the exterior and interior of every window with these steps.
- Check caulking around each window frame for cracks, gaps, or sections that have pulled away from the siding or trim.
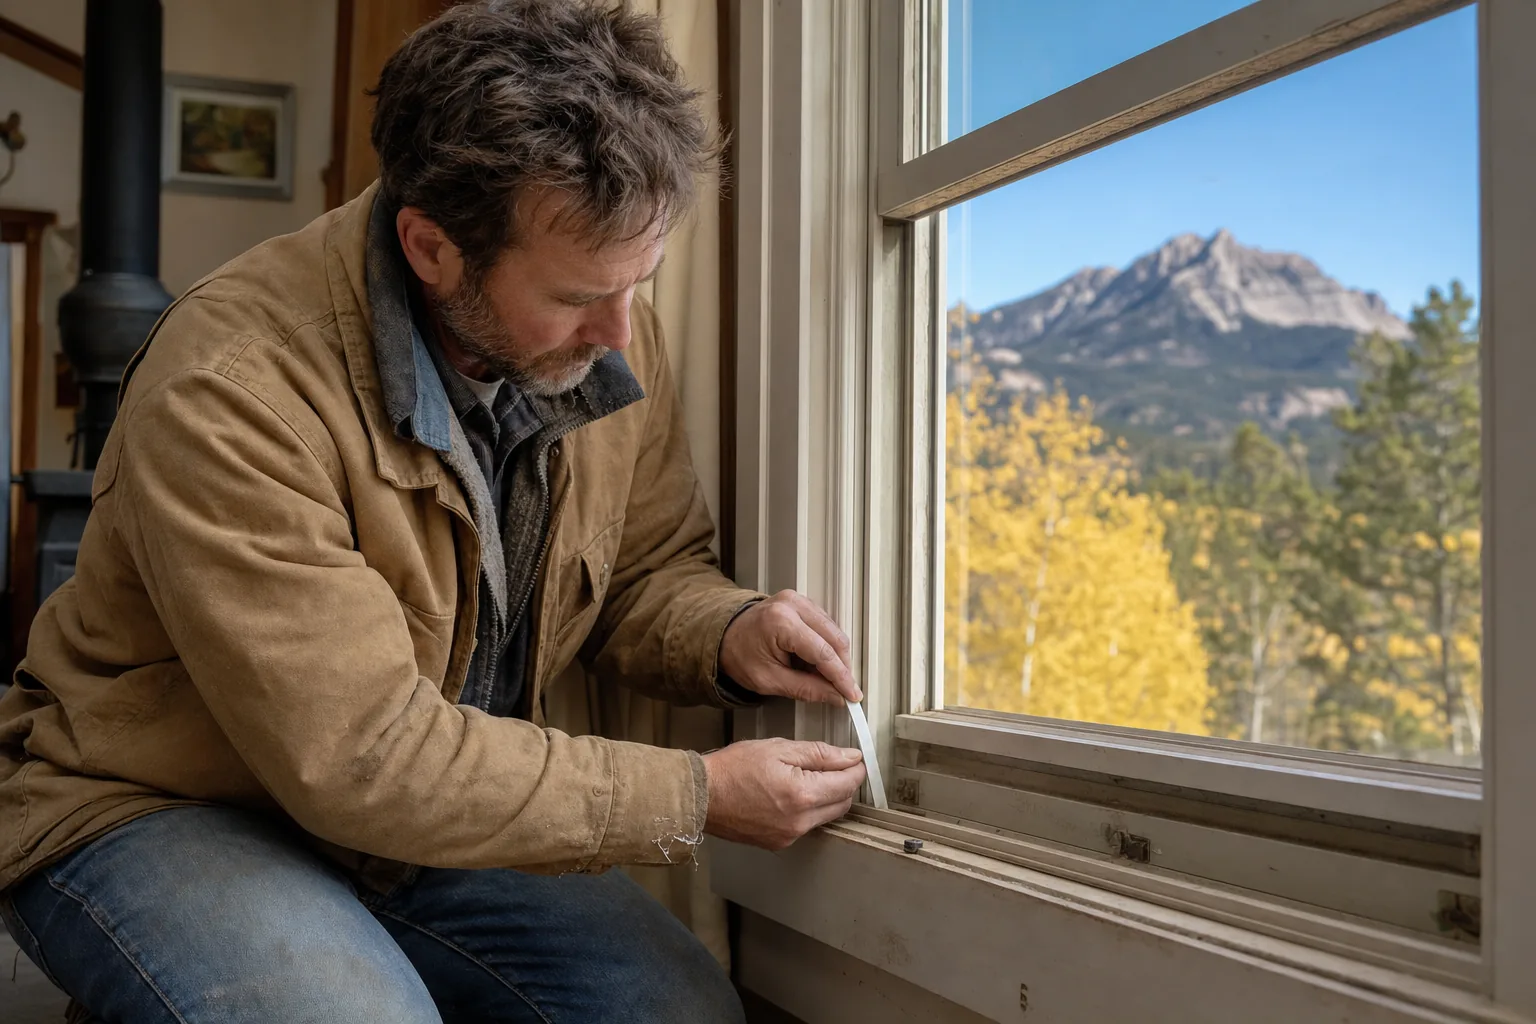
- Press on the weatherstripping around each sash. If it feels flat, brittle, or crumbles under light pressure, it's due for replacement.
- Open and close every window fully to confirm the sash still seats tightly and the locks engage without forcing.
- Look for daylight around the frame from inside a dark room with the lights off outside. Any visible light usually means a real air gap.
- Inspect exterior caulk lines on stucco, siding, and brick for separation caused by summer sun and expansion.
- Note any windows with fogging or moisture trapped between the panes, since that points to a failed seal rather than a simple draft.
This early pass matters because caulk and weatherstripping repairs go on faster and cure better in mild fall temperatures. Trying to caulk a window in freezing weather rarely holds up through the season.
Test for Drafts Before Temperatures Drop
Once you've finished the initial inspection, confirm which windows are actually leaking air instead of guessing based on age or looks. A simple draft test takes a couple of minutes per window. It shows you exactly where to focus your winterizing effort.
| Test method | How to do it | What it tells you |
|---|---|---|
| Hand test | Run your hand slowly along the frame and sash edges on a windy or cold day. | Feel for moving air, which points to gaps in weatherstripping or caulk. |
| Candle or incense test | Hold a lit candle or incense stick near the frame edges with the window closed. | Flickering or bending smoke shows exactly where air is moving through. |
| Paper test | Close the window on a strip of paper and try to pull it out. | Paper that slides out easily means the seal isn't gripping tight enough. |
Windows that fail these tests are the ones that need weatherstripping replaced, caulk redone, or in some cases a closer look at whether the window itself is still doing its job. Any window that fails more than one test is worth prioritizing first, since it's losing conditioned air the fastest and costing you the most on the heating bill. A window that drafts badly even after fresh caulk and weatherstripping is often telling you something more specific: the frame or sash has warped, and no amount of sealant is going to correct that. In that case, the draft test isn't pointing you toward a repair. It's pointing you toward a conversation about replacement.
Weatherstripping and Caulk: The Core of a Winterize Windows Checklist
Weatherstripping and caulk are the cheapest, fastest fixes on any winterize windows checklist, and they make the biggest difference on a tight winter budget. Both wear out from UV exposure, temperature swings, and simple age, and Western Colorado's big daily temperature range accelerates that wear compared to milder climates. A window that sailed through summer without a single draft can still leak heat all winter if the weatherstripping has gone flat or the exterior caulk has cracked loose from expansion and contraction. Most homeowners can handle this step themselves in an afternoon with basic tools from a hardware store. The work is not glamorous, but it is the single most cost-effective line item on the whole checklist.
- Pull out old, cracked, or compressed weatherstripping rather than layering new material over it.
- Choose a weatherstripping type (foam tape, V-strip, or door sweep style for sliding sashes) that matches how the window operates.
- Clean the frame surface fully before applying new caulk or weatherstripping so it adheres properly.
- Use exterior-grade caulk rated for the temperature swings of a Colorado winter, not a general-purpose indoor product.
- Recaulk any gaps between the window frame and the surrounding wall or trim, not just the sash itself.
- Replace worn sash locks that no longer pull the window fully tight against the frame, since a loose lock undoes good weatherstripping.
These fixes buy real time on older windows, but they have limits. Weatherstripping and caulk manage air leaks around a window that's still structurally sound. They can't fix a frame that has warped, glass that has lost its seal, or single-pane glass with no insulating gap at all.
Deep Winter: What to Watch Once the Cold Sets In
Once the coldest months arrive, the checklist shifts from prep work to monitoring. A short list of habits during December through February catches problems early, before they turn into bigger repairs come spring.
- Watch for condensation between the panes rather than on the interior glass surface, since that usually signals a failed seal rather than normal indoor humidity.
- Check that storm windows, if you have them, are fully latched and not letting cold air bypass the interior sash.
- Keep an eye on any window that developed a draft during fall testing to see if it's gotten worse under sustained cold.
- Note ice or frost forming on the interior glass surface repeatedly, which points to a colder-than-normal glass temperature and possible insulation gaps.
- Confirm exterior caulk lines haven't cracked from the season's first hard freeze-thaw cycles.
None of this replaces a professional look at your windows if something seems off. But catching a problem in January instead of April gives you more options, and more time to plan, before the next winter rolls around.
Deciding When It's More Than a Winterizing Job
Weatherstripping, caulk, and careful monitoring handle a lot of what shows up on a seasonal checklist. Sometimes, though, the checklist reveals something a repair kit won't solve. Warped frames that won't seal no matter how much new weatherstripping you add. Glass that's permanently fogged between the panes. Windows old enough that even fresh caulk barely slows the draft. These are the signs that separate an annual maintenance task from a bigger decision. A homeowner working through a winterize windows checklist for the third or fourth year in a row on the same problem window is usually just delaying a replacement, not preventing one. At that point, you're not winterizing an existing window. You're deciding whether it's time to replace it.
Replacement windows built for the temperature swings and elevation of Western Colorado seal tighter and hold that seal longer than aging original windows. That cuts down on the yearly maintenance list. If energy bills are a bigger part of your decision than drafts alone, our guide on energy-efficient windows breaks down what actually affects performance in a cold, high-elevation climate.
We also cover the mechanics of window condensation in more depth in our post on reducing condensation on windows in winter. If you're weighing whether to fix what you have now or wait, our guide to the best time of year to schedule window replacement in Colorado can help with the timing. Front doors need their own seasonal attention too. Our checklist on weatherproofing your front door for winter covers the same kind of prep for entry doors.
Get Ahead of Winter Before It Gets Ahead of You
A winterize windows checklist is not complicated, but it does take doing the work before the cold arrives rather than after. Start in early fall with a full inspection, test for drafts while it's still comfortable to work outside, fix what caulk and weatherstripping can fix, and keep watching through the coldest months for anything that points to a bigger issue.
If your fall inspection turns up windows that seem past the point of a simple repair, Innovate Window and Door offers free estimates across Montrose and Western Colorado. That includes Delta, Grand Junction, Ouray, Ridgway, Telluride, Gunnison, Crested Butte, Cedaredge, and Olathe. We'll take a look, give you an honest read on whether it's a maintenance fix or a window ready for replacement, and help you plan the work before winter sets in. Contact us to schedule your free estimate.
About the author
Jeremy Holzmeister is the founder of Innovate Window and Door, a locally owned window and door company in Montrose, Colorado, with more than fifteen years of experience in the trade. Learn more about our team.